
The Glass Workshops are now in full swing, so I wanted to use this blog to dive into the process of the workshop so you know what to expect or for those who live too far away to attend to live vicariously!
STEP ONE: CHOICES
The hardest part in any workshop I teach is helping people make decisions! Haha! From the decisive to the decision paralysed, it’s a hard line to stick to in order to guide but not influence students.
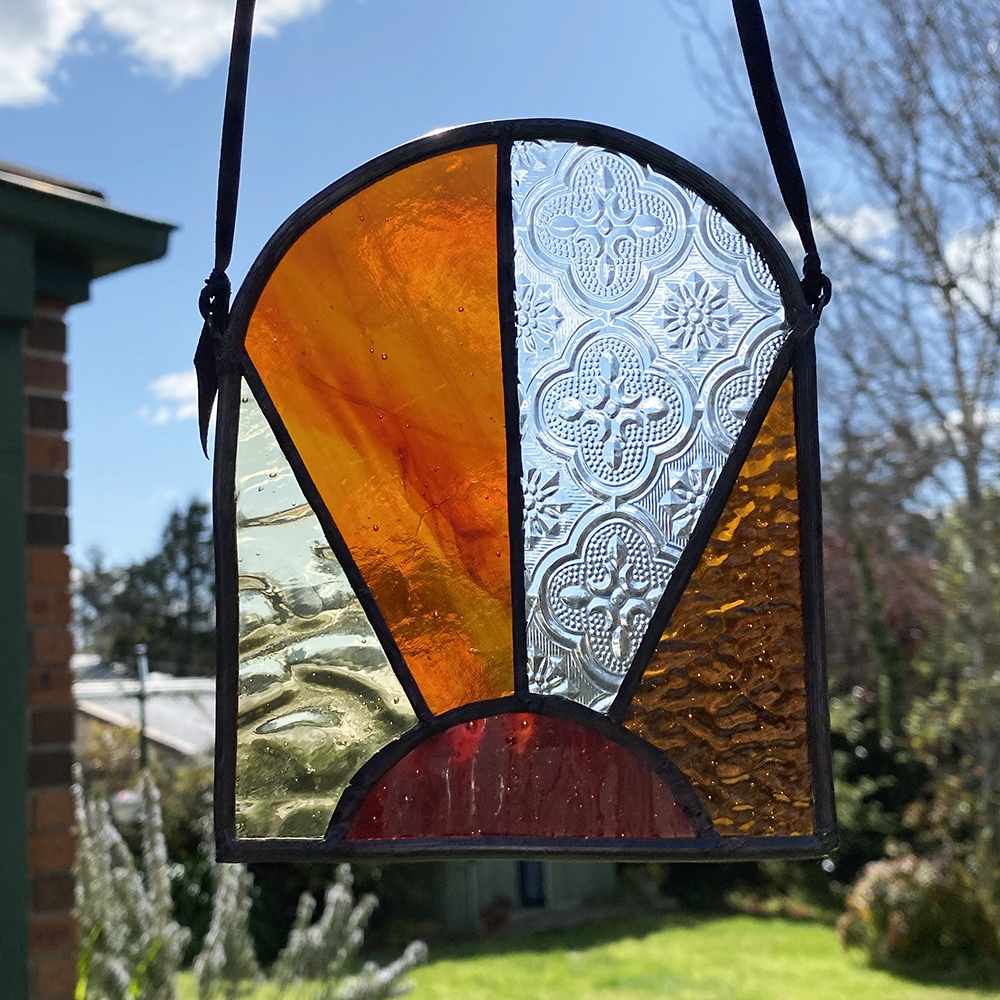
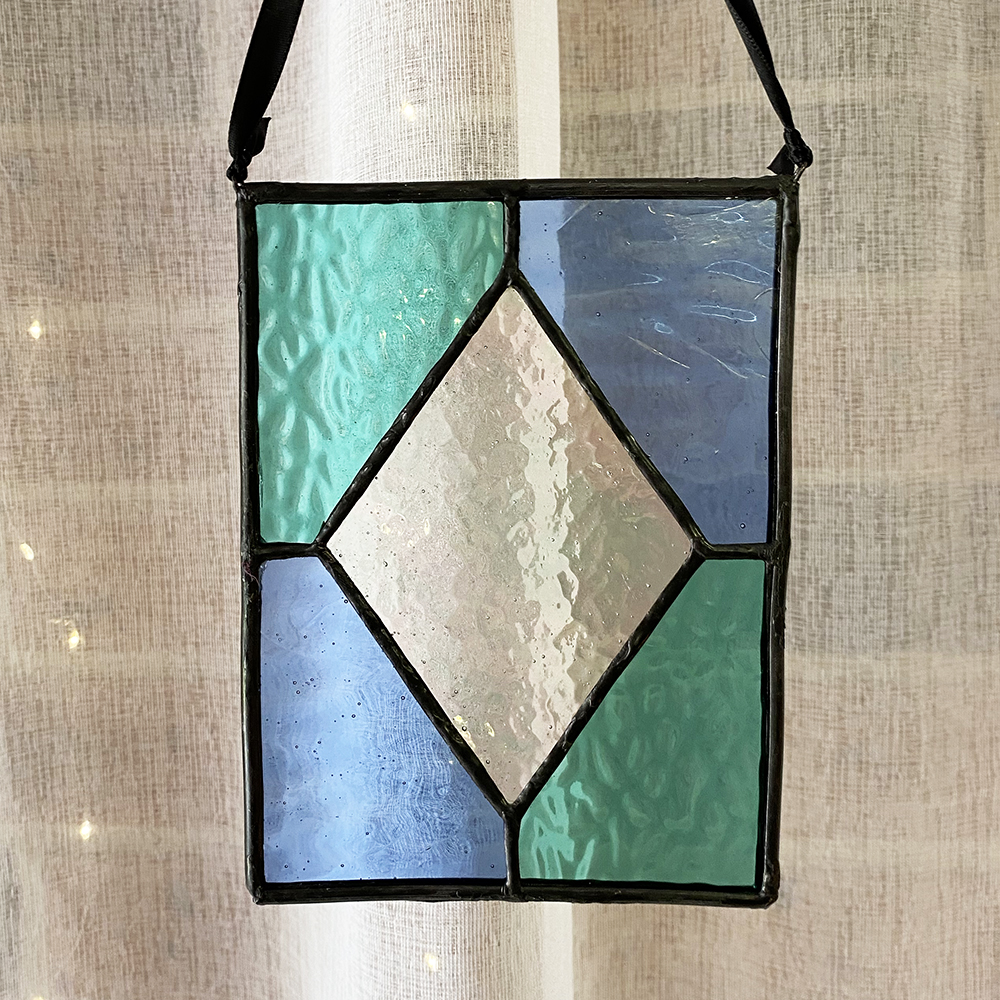
The workshops have been designed with set patterns to ensure they are all achievable not only in the time frame but also in the ability of a beginner starting. Choosing the colours and patterns of your glass can really change the overall look of these simple designs and change the overall effect.

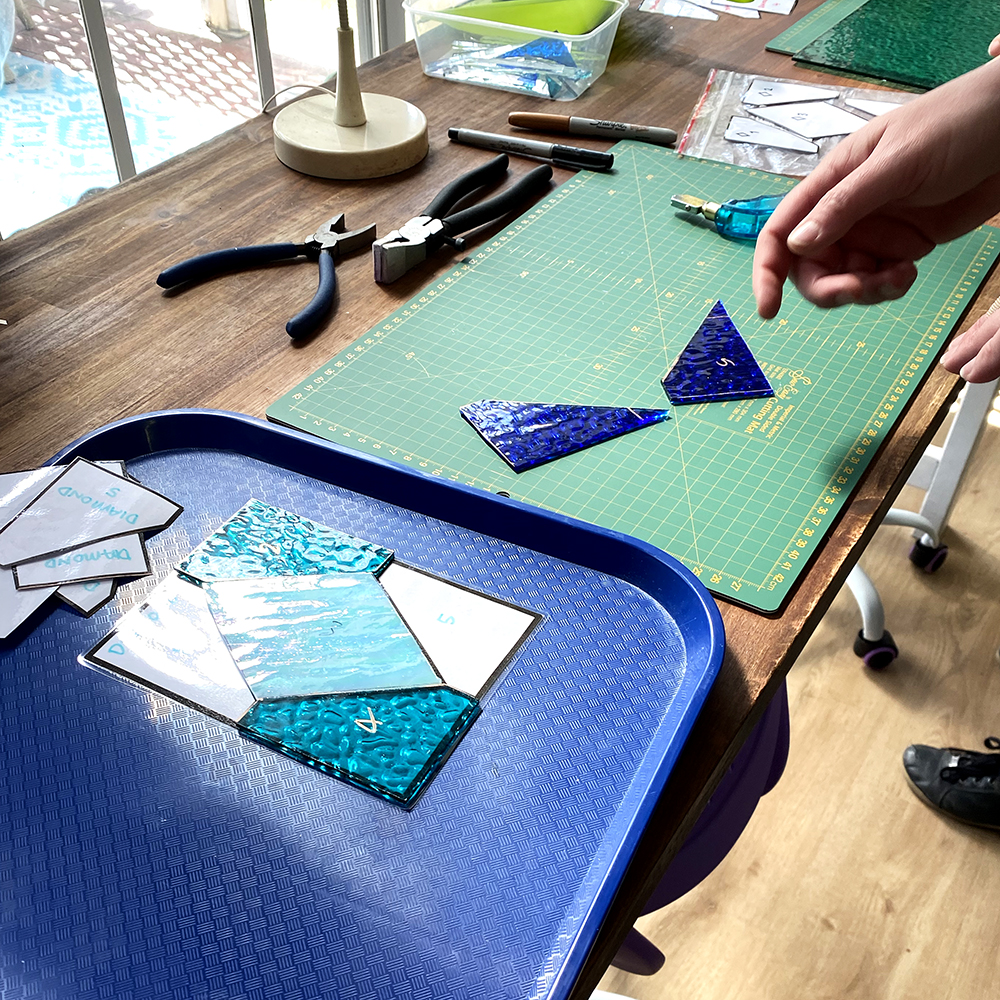
STEP TWO: BREAK SOME GLASS!
A lot of the time you hear about cutting glass, but we are actually scoring the glass with the lines of the pattern pieces then breaking. Glass is going to break how it wants to, not always how you want it to, it’s important to have a little practice to get the hang of it.
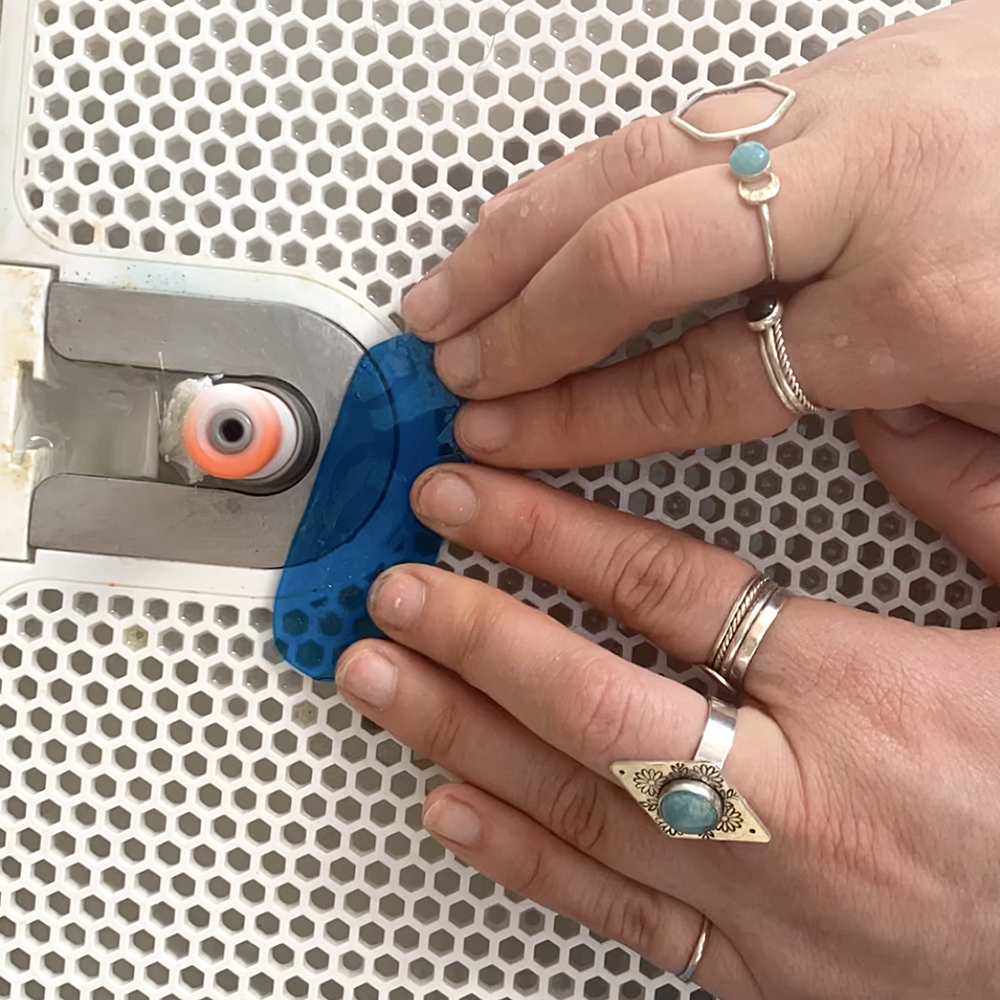
STEP THREE: GRINDING!
Once all the pieces are ready, it’s Grinding time! This is a bit like filing metal but with more noise, water and sharp edges! This step ensures your pattern fits together well and that all edges are smoothed ready for the next step. Once done, wash to remove all glass dust.
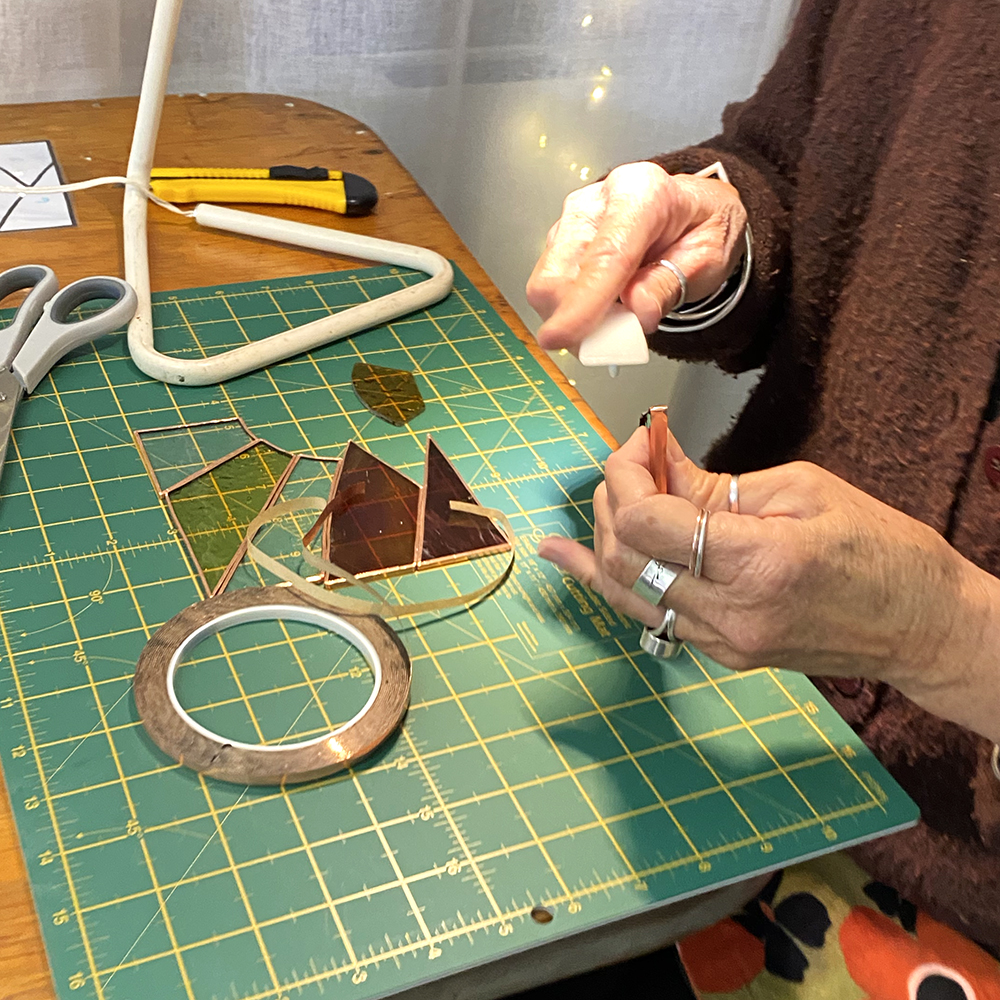
STEP FOUR: COPPER FOILING
We bring down the intensity for the next step as we are copper foiling. This step wraps a thin piece of copper around the glass and sticks to the sides, top and bottom of the glass. This will form to basis of our joins that will hold the piece together.
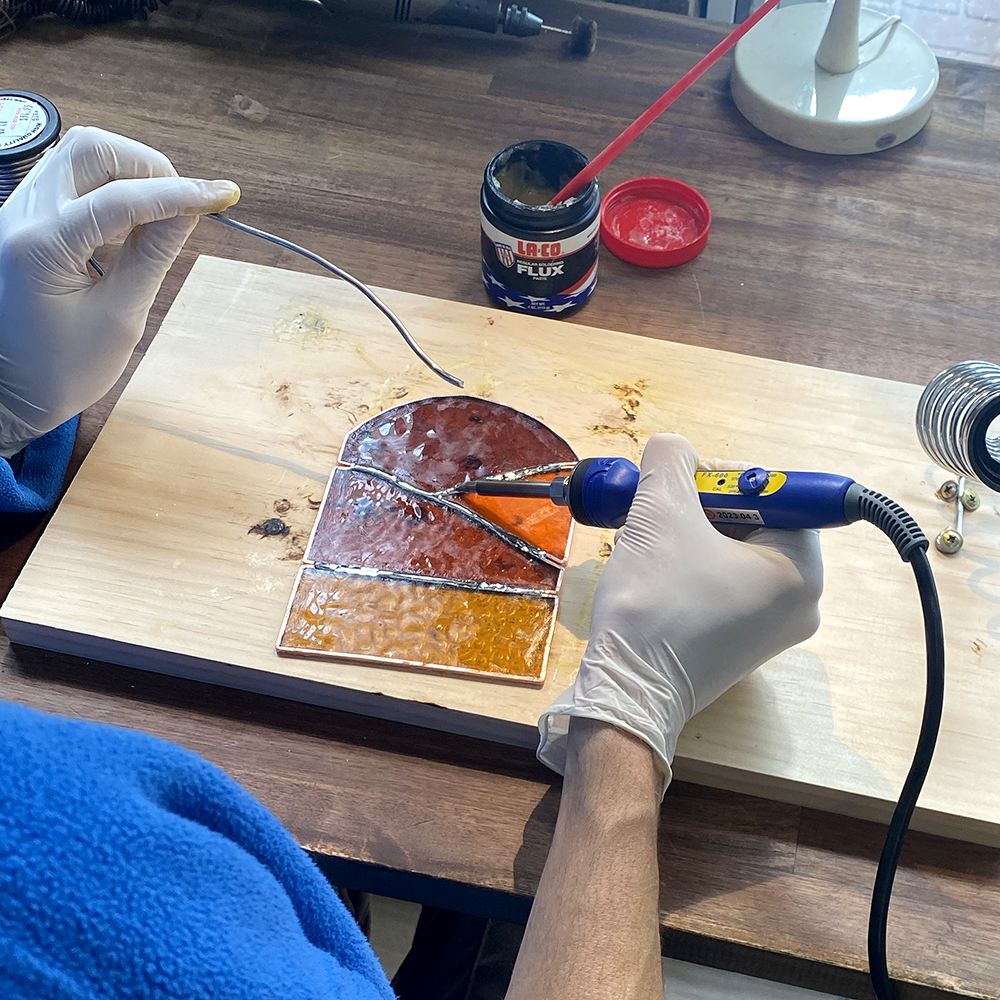
STEP FIVE: SOLDERING
The longest and most intense step is the soldering. Using a soldering iron, we melt the lead solder over all the copper foil to join all our pieces together. This can be tricky to get consistent lines but is so satisfying to see the metal melt!
STEP SIX: TO CAME OR NOT TO CAME
Once all our lines are done, we can choose to came wrap the piece or leave the edge. The came can hide some inconsistencies but at the same time can be a bit tricky to attach.
STEP SEVEN: FITTINGS
The last little soldering task can be a tricky one is to attach jump rings so that you can hang the piece.
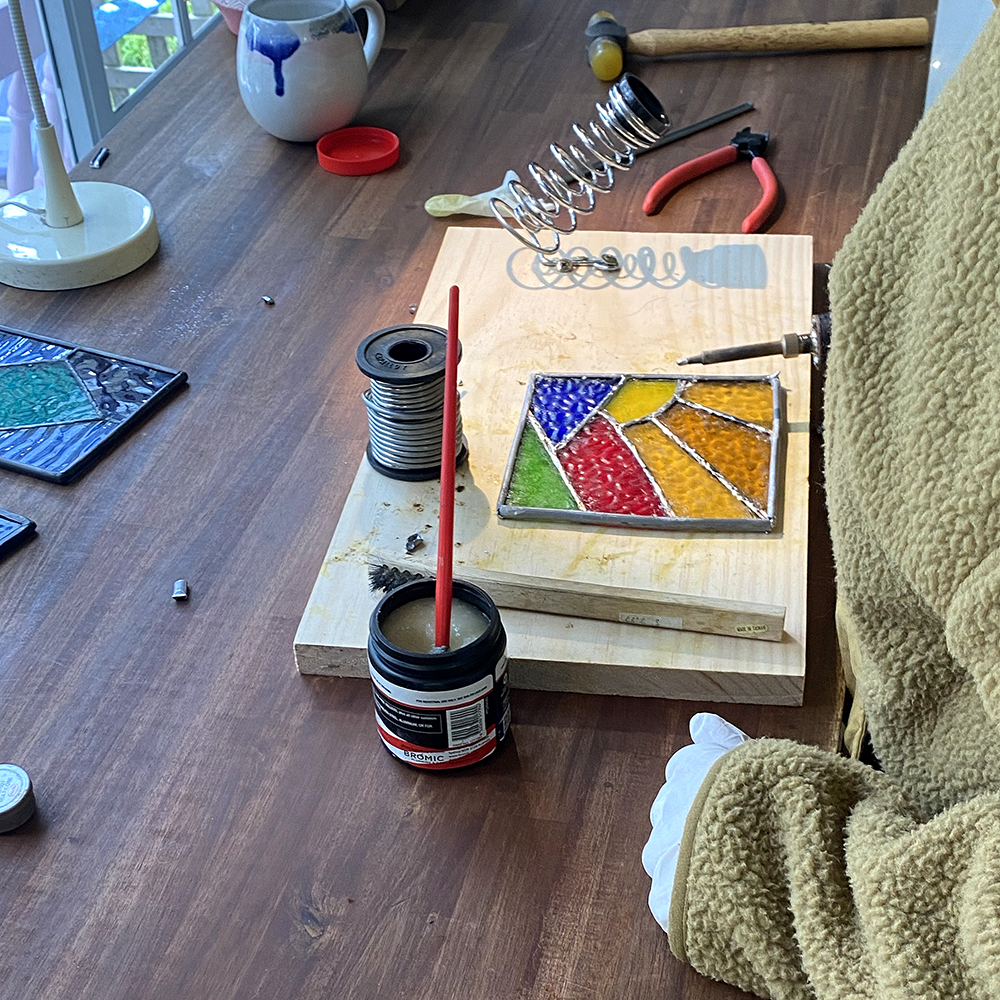
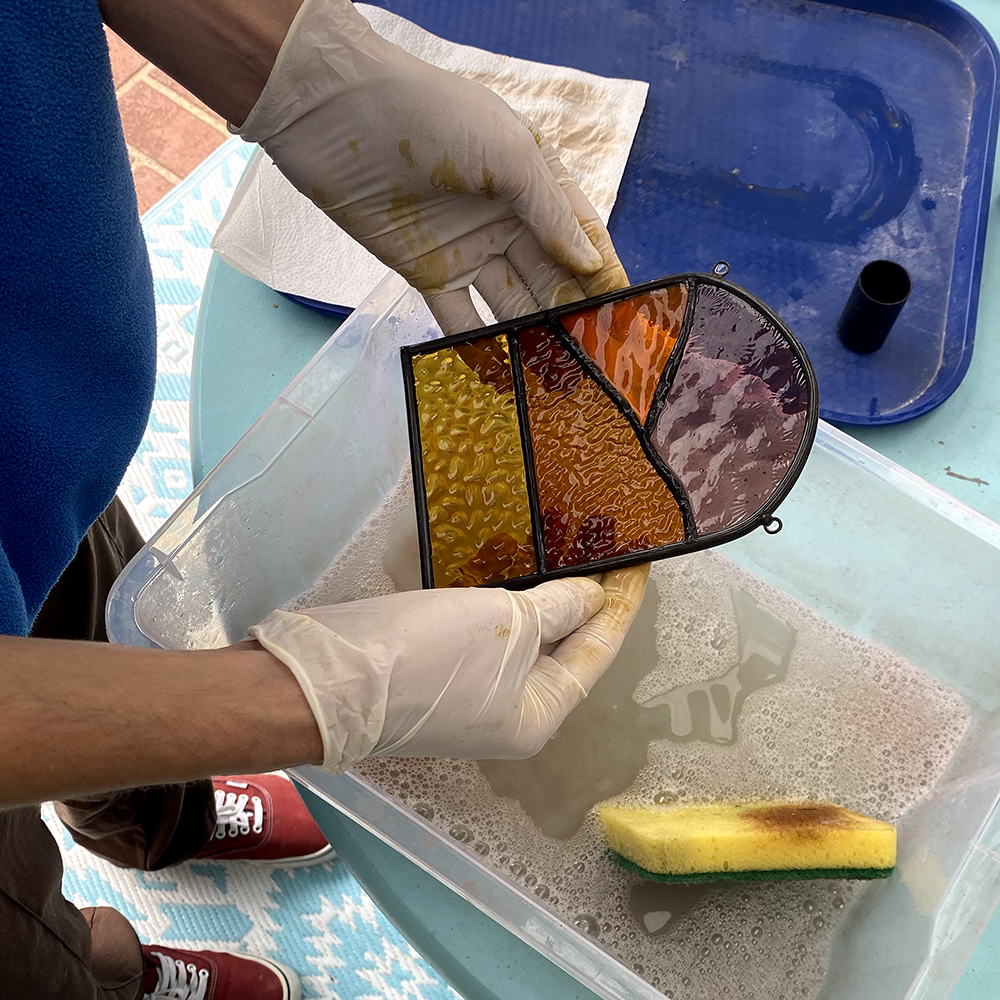
STEP EIGHT: A GOOD SCRUB AND PATINA
Into a hot soapy bath to clean off the piece then it’s time to patina. Choosing to keep it silver like the solder or blacken it. Both have their benefits and can really enhance your design.
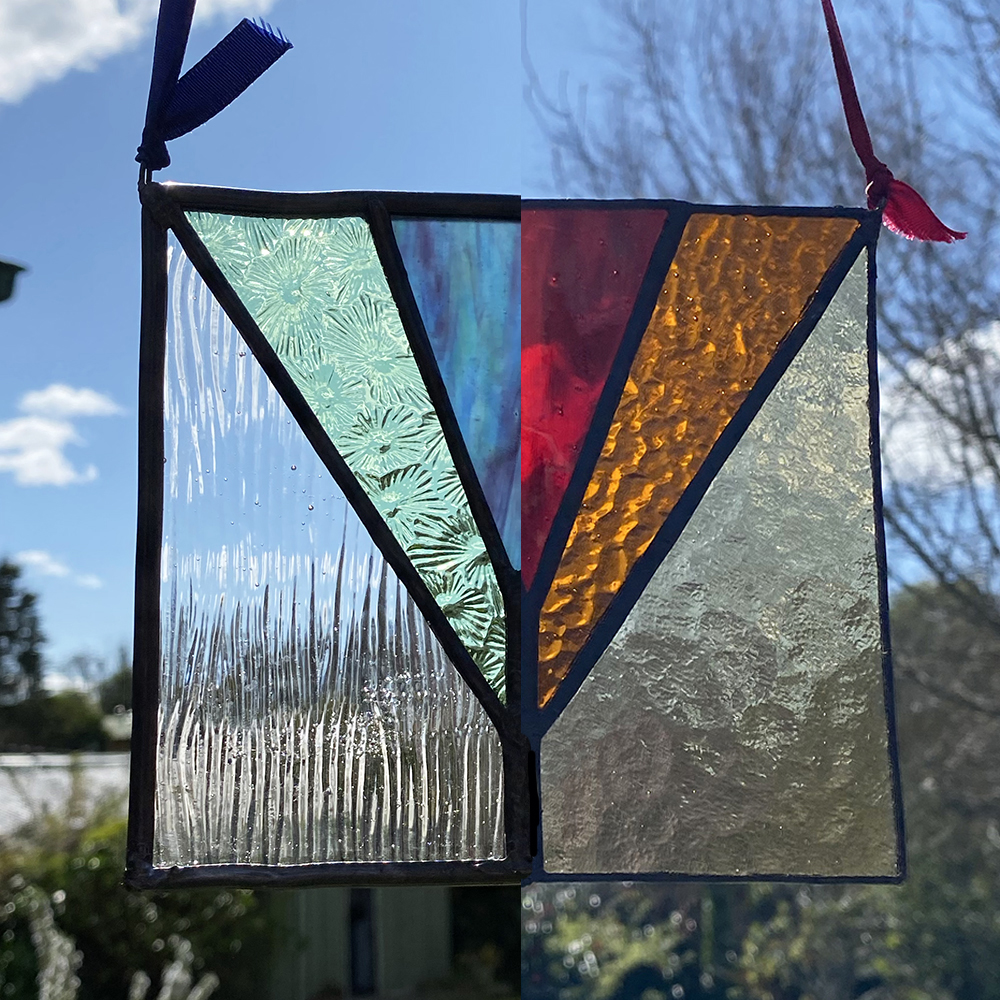
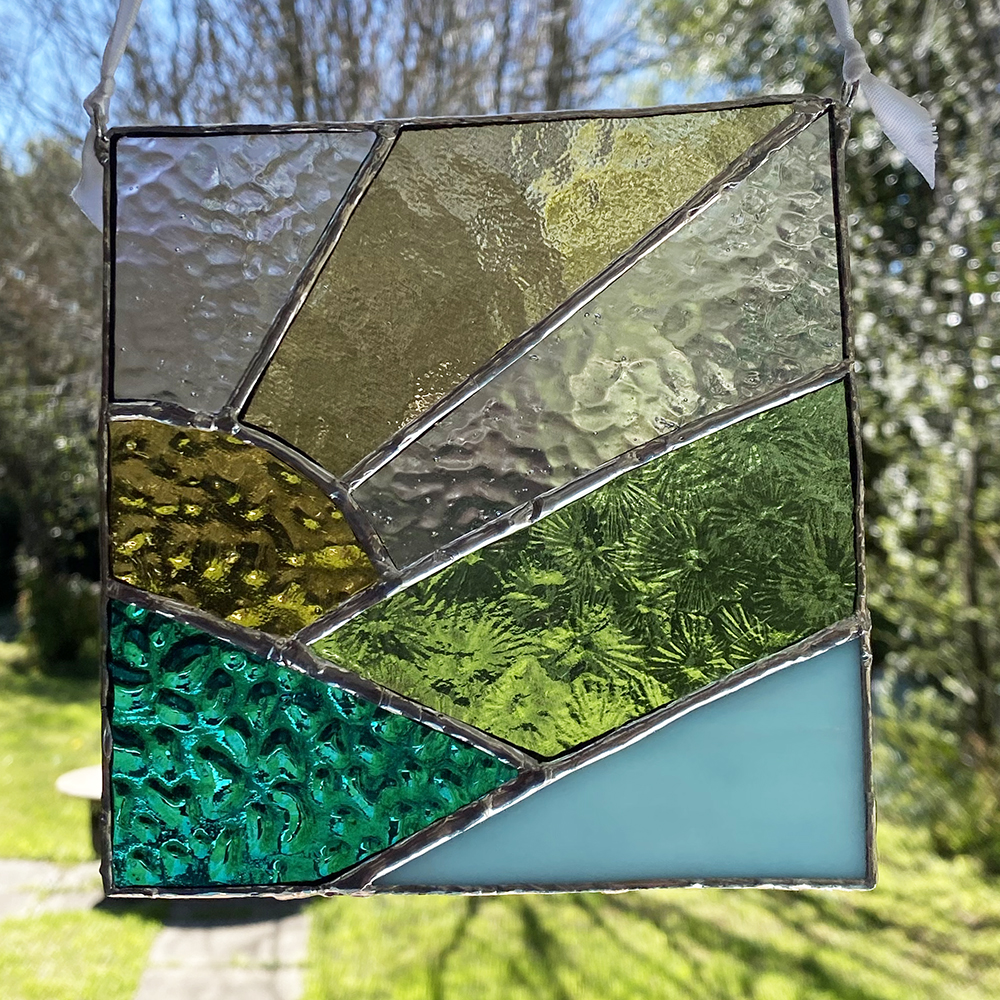
STEP NINE: WAX AND FINISH!
Once that is done and dry, a little wax polish to seal peice and enhance the patina. Then the last decision of the day is to choose a coloured ribbon to hang the piece and complete it!
I hope you have enjoying this detailed dive into the process of Glass Making Workshop. I hope to see you in the workshop soon to make one! If you have any questions regarding the workshops please feel free to reach out via email asilvercircledesign@gmail.com
FURTHER VIEWING: To see the available designs for the workshop, head to the Glass Pattern Page linked HERE.